Sunday, December 2, 2012

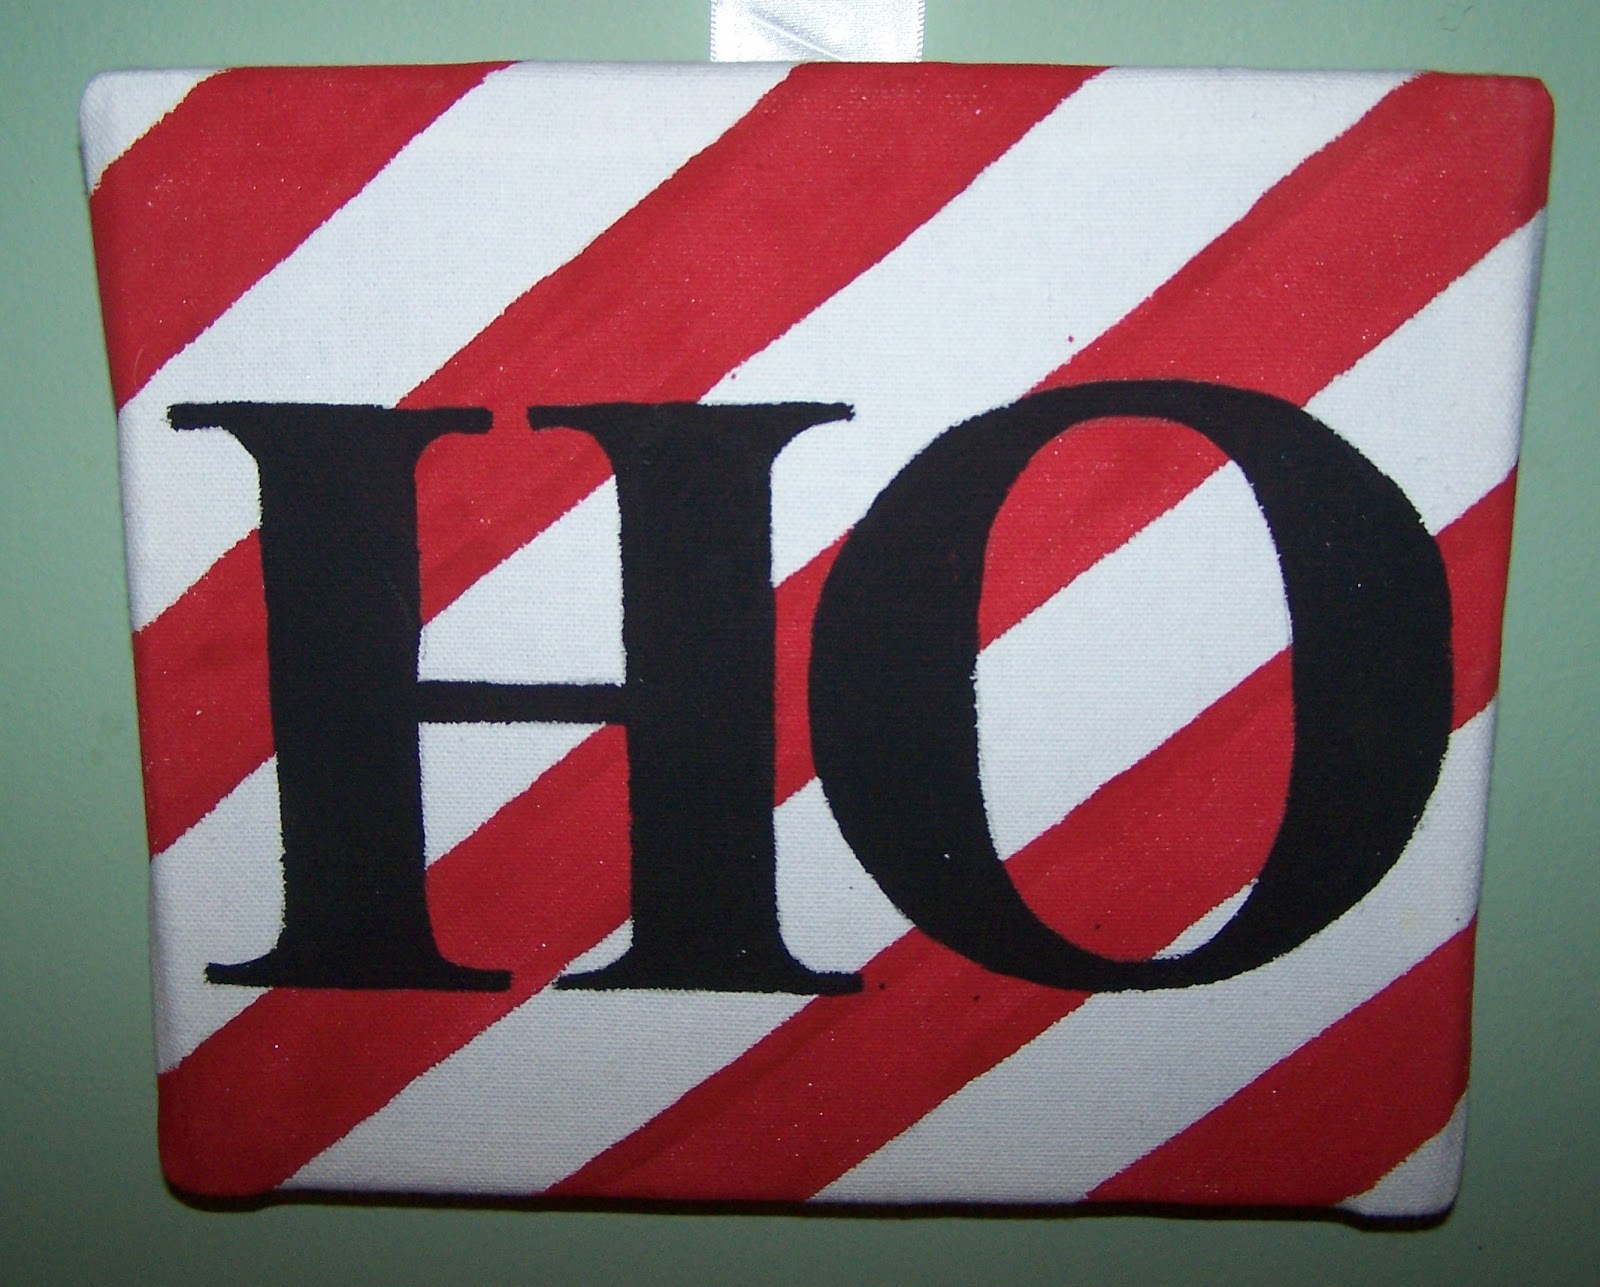
Ho Ho Ho Christmas Canvas


It's been awhile since I've posted a craft here.  I've been super busy over at The Ladybug Landing the last few weeks.  I was able to throw this together though.
 
What you need:
3 canvases
ribbon
acrylic paint (red, green and black)
staple gun
stencil (optional)
quarter (optional)
 
As I was making this craft, I forgot to take pictures of the process.  Hopefully it's easy enough that I can just walk you through it though.
 
First what you are going to want to do is layout your design that you are going to want to paint on your canvases.  I choose stripes and dots.  I used a ruler to make the stripes and a quarter to make the dots.  Just lightly make pencil marks so you can see your design.
Paint your designs on and let that dry.


Next you are going to want to make your letters.  If you don't have a stencil big enough, you can make one on the computer which is what I did.  I just printed it out on paper and then cut them out.  Again, trace around them lightly with pencil so you can see where you need to paint.
Paint and let dry.
 
Now you can add your ribbon.  Layout your canvases face down on a counter top or the floor.  Space them evenly apart.  Take your ribbon and run it across the back of the canvases.  Staple them down with your staple gun.
On your top canvas, you are going to want to staple a ribbon to each corner of it.  Make sure they are long enough to create a bow.
Tie your bow and hang up your new creation!
 
Simple as that.
I have gotten quite a few compliments on this project.  You could even do different variations of this and for different holidays.
 
Cost of this project:
Nothing.  I had everything on hand already.   I just used the canvases from this project that my sister had left here.
 
Did you make this project?  Link me to it!  I would love to see yours!


Wednesday, November 28, 2012

DEAD DEAL! York Photo: Custom Desk Calendar for only $1!


SORRY THIS DEAL IS NOW DEAD!
Right now you can score a custom desk calendar for only $1 over at York Photo from now until December 15th.
This would make a really cute Christmas gift!
So head on over here and sign up for a new account.
Create your calendar and use the promo code 1DESK.
You will have to pay for shipping which was $3.99 for me but you can't beat a custom Christmas gift for less than $5.


Saturday, November 24, 2012

DEAD DEAL! Toys R Us $20 Groupon for just $10!

 SORRY THIS DEAL IS NOW DEAD!
 
Here is an awesome deal that you aren't going to want to pass up!
You can recieve a $20 Groupon for just $10! 
Head on over here to get yours today.
With the holidays coming up, this will come in handy.
There are some restrictions so make sure you read the fine print.

What is Groupon?
Groupon is a "deal-of-the-day" site which sells coupons and gift certificates that are redeemable at local and regional businesses. Each day, Groupon offers a new deal for each specific locale. Groupon typically offers deals related to dining, concerts, museums, tickets, and more. 

Monday, November 12, 2012

Cinnamon Stick Wreath


Ready for some Christmas crafts?
 
What you will need for this project:
Wreath Form
Cinnamon Sticks
Ribbon
Hot Glue
 
 
My wreath form came from Dollar Tree
The ribbon came from Family Dollar
The cinnamon sticks came from Hobby Lobby


This wreath form was a little too thick so I cut it in half and made two.


Start by gluing the end of your ribbon to the form.
 
 
Wrap it around the form until you get all the way back around.  Glue that end down.
 
 
Now you can start adding the cinnamon sticks.  Glue them down to the form.
Once you have made it all the way around with the cinnamon sticks, go back in with another layer over all the empty spots.
 
 
I had a little extra ribbon left over, so I made a bow to give it a little extra something.
 
 
Cost of this project:
$1 for the wreath form
$1 for the ribbon
$2.98 for 3 bags of cinnamon sticks ($1.99 each with 50% off)
 
Hot glue I already had on hand.


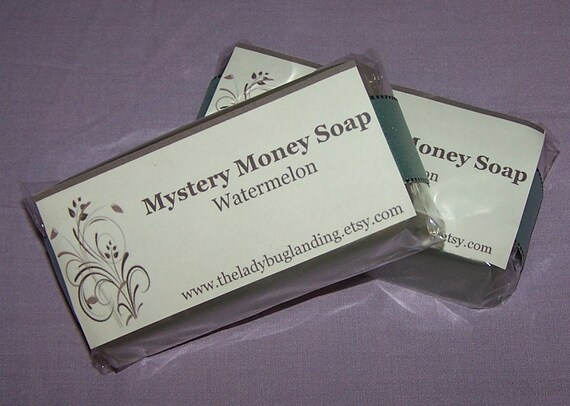
Mystery Money Soap Stocking Stuffers

Are you looking for stocking stuffers?  Well, these are perfect for any age!
 
Handmade Real Money Soap Mystery....you choose scent
 
Each bar of soap contains one bill ranging from $1 to $50.
The mystery is the fun of this soap. 
There are tons of different scents and they come in either green bars or clear bars.
 
Head over here to the Ladybug Landing and have a look.

Sunday, November 11, 2012

DEAD DEAL York Photo: 20 Holiday Photo Cards for Under $5


SORRY THIS DEAL IS NOW DEAD!
CHECK BACK LATER FOR MORE DEALS!
 
If you still need to order your holiday cards, now is the time to do it.  York Photo is offering an amazing deal right now.  You can get 20 4x8 cards plus envelopes for under $5 shipped to your door!
 
Here's how it works, add 20 4x8 photo cards to your cart.  Use coupon code 1CARD at checkout.  This will bring your total down to $1.  Shipping was $3.49 for me so my grand total ended up being $4.49.
  You can also score 40 free prints while you are over there!  All you have to do is pay the shipping which was $2.74 for me.
 
So head over here and get started!
 
This deal is for new customers only and expires on 11/15!


Wednesday, November 7, 2012

DIY Fall Leaves Canvas Craft


My sister recently found this craft from Revolutionaries on Pinterest and wanted to make one of her own.  Here is how she did it.
 
 
What you will need to create one like hers:
 
2 8x10 canvases
3-5 different colors/patterns of scrapbooking paper
glue
scissors
toliet paper or paper towel rolls
branches
 
 
First you will want to pick out your scrapbook paper.  She chose fall like colors with no patterns.
 
 
Next you are going to want to cut out some leaves.  To do this, you just take one of your paper towel rolls and kind of smash it down.  Cut off pieces approx. 1/2 inch wide.  There is no set number as to how many leaves you will need to cut.  Go with what you think looks right for your canvases.
 

Glue them down to your scrapbook paper.
Let these dry completely.
 
 
While those are drying, cut up your branch and lay them out on the canvas.  Again, there is no certain way to do this.  Just go with what you think looks best.
Once you have them where you want them, glue those down.
Let dry.
 
 
Now you can add in your leaves.  I would suggest laying them all out first before glueing them down.
 
I love the way hers turned out.  In fact, I will probably be making one of my own here really soon.
 
 
Cost of this project:
 
$1 for 5 pieces of scrapbook paper at Micheals
 
The branch we found outside and the cavases came from a previous project.  Everything else we had on hand already.