Showing posts with label Gift. Show all posts

Friday, September 20, 2013

Crockpot Apple Butter

Well it's that time again!
Apple season!
YAY!  Who doesn't love the crisp fall air?!  It's my favorite time of year I must say.
If you find yourself with apples this year from the orchard, you should try out this recipe.  It is very simple and will make your house smell AMAZING!


Here is what you will need:
 
5 to 6 lbs. of apples peeled, cored and chopped
2 1/2 to 3 Cups Sugar
3 tsp. of Cinnamon
1/2 tsp. nutmeg
crockpot
peeler or knife
cutting board


First you are going to want to wash your apples and then peel them. 


Next cut them up into small pieces. 
In a seperate bowl, mix together your sugar, cinnamon and nutmeg.
Now most apple butter recipes call for cloves.  I however can't stand the taste of them so I don't put them in mine.  If you want to, you can add 1/2 to 1 tsp of ground clove to this mixture also.
 
 
Add you apples to the sugar and mix well to make sure all the apples are coated.
 
 
Pour them into the crockpot.
 
 
Put the lid on your crockpot and cook on high for the next 10 to 12 hours.
The cooking time is going to depend on how hot your crockpot gets and how juicy your apples were.
 
 
Every so often, check on your apples and stir them.
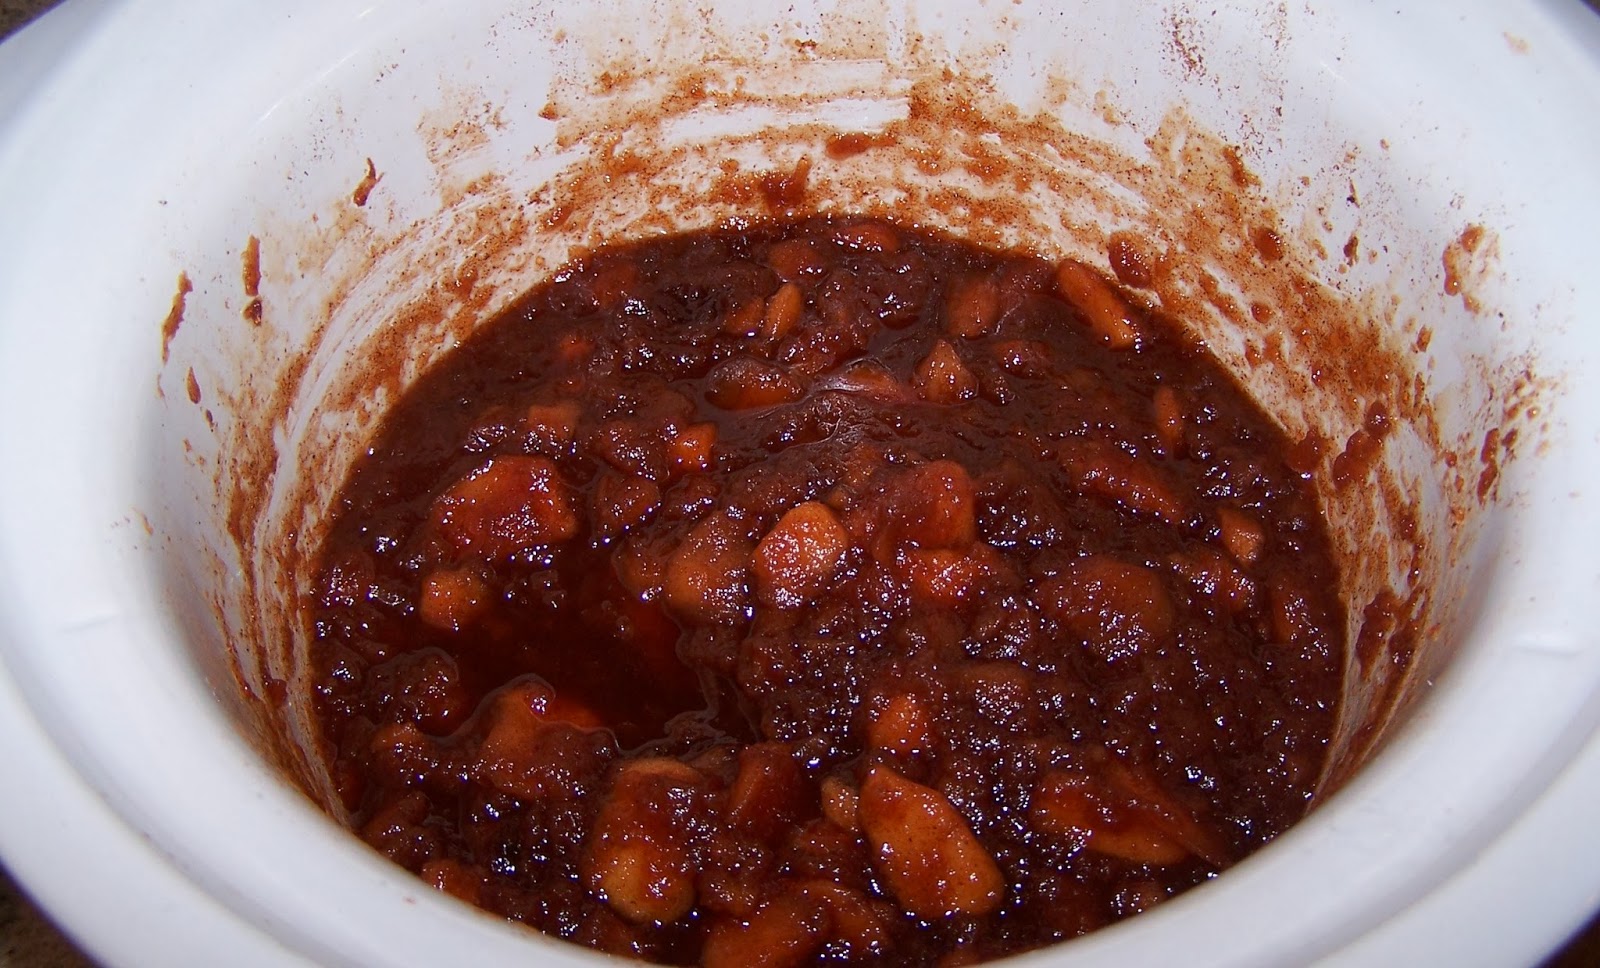
This was taken about 2 hours after cooking.  You can see that there is alot of juice in there now.  Don't worry, this will all cook away.
 
 
About 8 hours into the cooking process.
 
 
This is 12 hours later for me.  If you have some chunks left, you can take a wisk and break them up.
 
 
From here, you can either freeze your apple butter in containers or can it for future use.  I always can mine for 2 reasons.  One is it stays longer and two I don't have that much freezer space.
 
If you have never canned before, I suggest doing a little research on the computer before you attempt it so that you do it properly.


These would also make great gifts for the upcoming holidays!
Just add ribbon and pretty label and you have a lovely gift that everyone would love!
 
 
Did you make this recipe?  Please share how it turned out!  I would love to hear!


Saturday, June 29, 2013

Candy Bouquets

Are you in need of a cute gift for someone?  This is great for any age and any occasion.  I made these for Father's Day but you could easily change it up for a different holiday.


What you will need:
 
Candy of your choice
Tissue Paper
Small Wooden Dowels
Scrapbook Paper
Printer (optional)
Container of some sort
Floral Foam
Hot Glue Gun


I bought enough supplies to make 2 bouquets.
First you are going to want to unpack all of your candies and get your hot glue gun plugged in.
The containers I used for this I found at Walmart and they are actually pencil holders.  You could use any container, bucket or pot you want for this project.


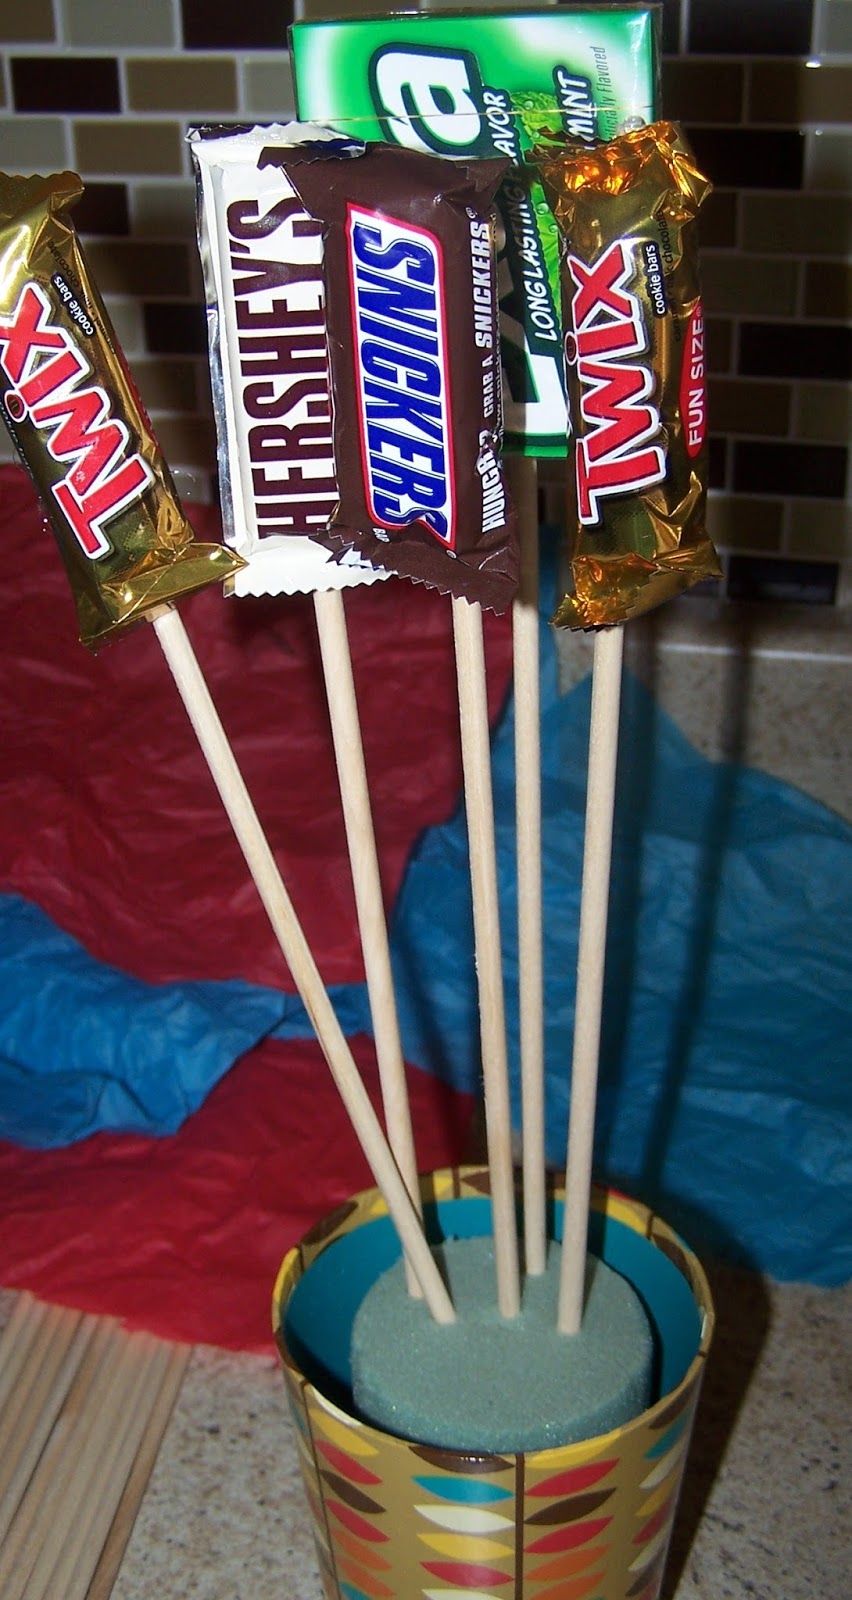
Place a line of hot glue on the top of one of the dowel rods.  Line up a candy bar and hold for a few seconds to make sure it sticks.  I used the fun sized bars but you could used regular sized ones if you want to.
 
 
Keep going until you have used up all of the candy bars.
 
 
Now that you have finished with all of that, place your floral foam into your container.  Start putting in the dowel rods into the foam to make your bouquet.  I put some of mine in at angles so the bouquet would look fuller.
 
 
Once I had that done, I stuffed some tissue paper down in the container so that you didn't see a bunch of dowel rods.
 
 
Dress it up with a little sign to finish it off.
 
 
These were a HUGE hit with my Hubby and Dad.  They were really easy to do and my daughter had a lot of fun helping me make them.
 
All supplies came from Walmart except for what I had on hand.
 
Total cost for this project which will make 2 bouquets:
 
$8 for the Candy (fun sized bars)
$1 for the Containers ($0.50 each on clearance)
$1.94 for the Dowel Rods ($0.97 each)
$1.97 for Floral Foam
 
Tissue paper, hot glue, and scrapbook paper I already had on hand.
 
 
Did you make this project?  Link me!  I would love to see it!


Wednesday, February 20, 2013

DIY Bath Bombs


This was a fun project to do.  My daughter loves bath bombs and asks me to buy them for her all the time.
So off to the web I went to find a recipe.  Most of the recipes are the same but you will find the occassional variation.


Here is what you need to create the ones I made:
2 Cups Baking Soda
1 Cup Citric Acid (found a Walmart in the canning section)
Spray Bottle with Water
Fragrace (either essential oils or soap fragrance)
Food Coloring (optional)
Bowl
Whisk
Mold or Silicone Cupcake Molds
 

First you will want to mix up your baking soda and citric acid in a large bowl.  Make sure that you mix it really good.  I used a whisk for this.
Add in your fragrance oil.  Now for this part I used my soap oils that I buy to make my soaps but you can use essential oils if you don't have any of the soap fragrance.  I used about a teaspoon of my oil but it is very strong so you may want to use less.  It's all a personal preference.
 
I didn't get a picture of this next step but you are going to want to slowly mist your mixture with the water bottle and stir well.  I added food coloring to my bottle but it wasn't enough so my mixture turned out a very pale blue.
 
Keep doing this until you end up with what looks like the picture below.  You want this to pack nicely in your hand.  I used probably about 10 sprays of water for my mixture.  Yours may take more or less depending.
 
 
Once it starts to pack like that, pack it tightly into your molds. 


I let mine dry overnight.  I haven't gotten any pictures of the finished product unmolded but I will update with those later.
This recipe made 7 cupcake sized bath bombs.
 
Cost of this project:
$2.88 for the citric acid at Walmart
$0.50 for the Baking Soda
$1.97 for the silicone cupcake molds at Walmart
 
Food coloring, bowl, water, spray bottle, fragrance and whisk I had on hand.
 
 
Did you make this project?  Link me to it!  I would love to see it!


Wednesday, November 28, 2012

DEAD DEAL! York Photo: Custom Desk Calendar for only $1!


SORRY THIS DEAL IS NOW DEAD!
Right now you can score a custom desk calendar for only $1 over at York Photo from now until December 15th.
This would make a really cute Christmas gift!
So head on over here and sign up for a new account.
Create your calendar and use the promo code 1DESK.
You will have to pay for shipping which was $3.99 for me but you can't beat a custom Christmas gift for less than $5.


Monday, November 12, 2012

Mystery Money Soap Stocking Stuffers

Are you looking for stocking stuffers?  Well, these are perfect for any age!
 
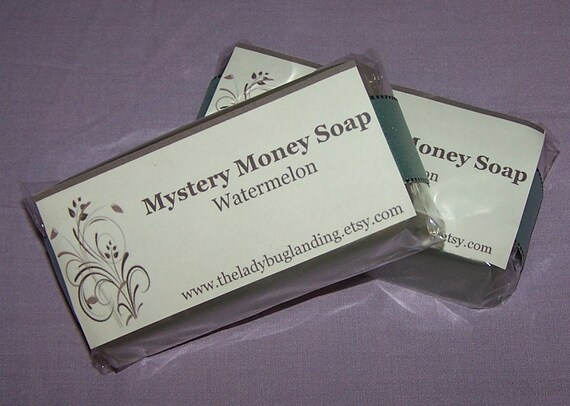
Handmade Real Money Soap Mystery....you choose scent
 
Each bar of soap contains one bill ranging from $1 to $50.
The mystery is the fun of this soap. 
There are tons of different scents and they come in either green bars or clear bars.
 
Head over here to the Ladybug Landing and have a look.

Monday, October 22, 2012

DIY Football Blanket


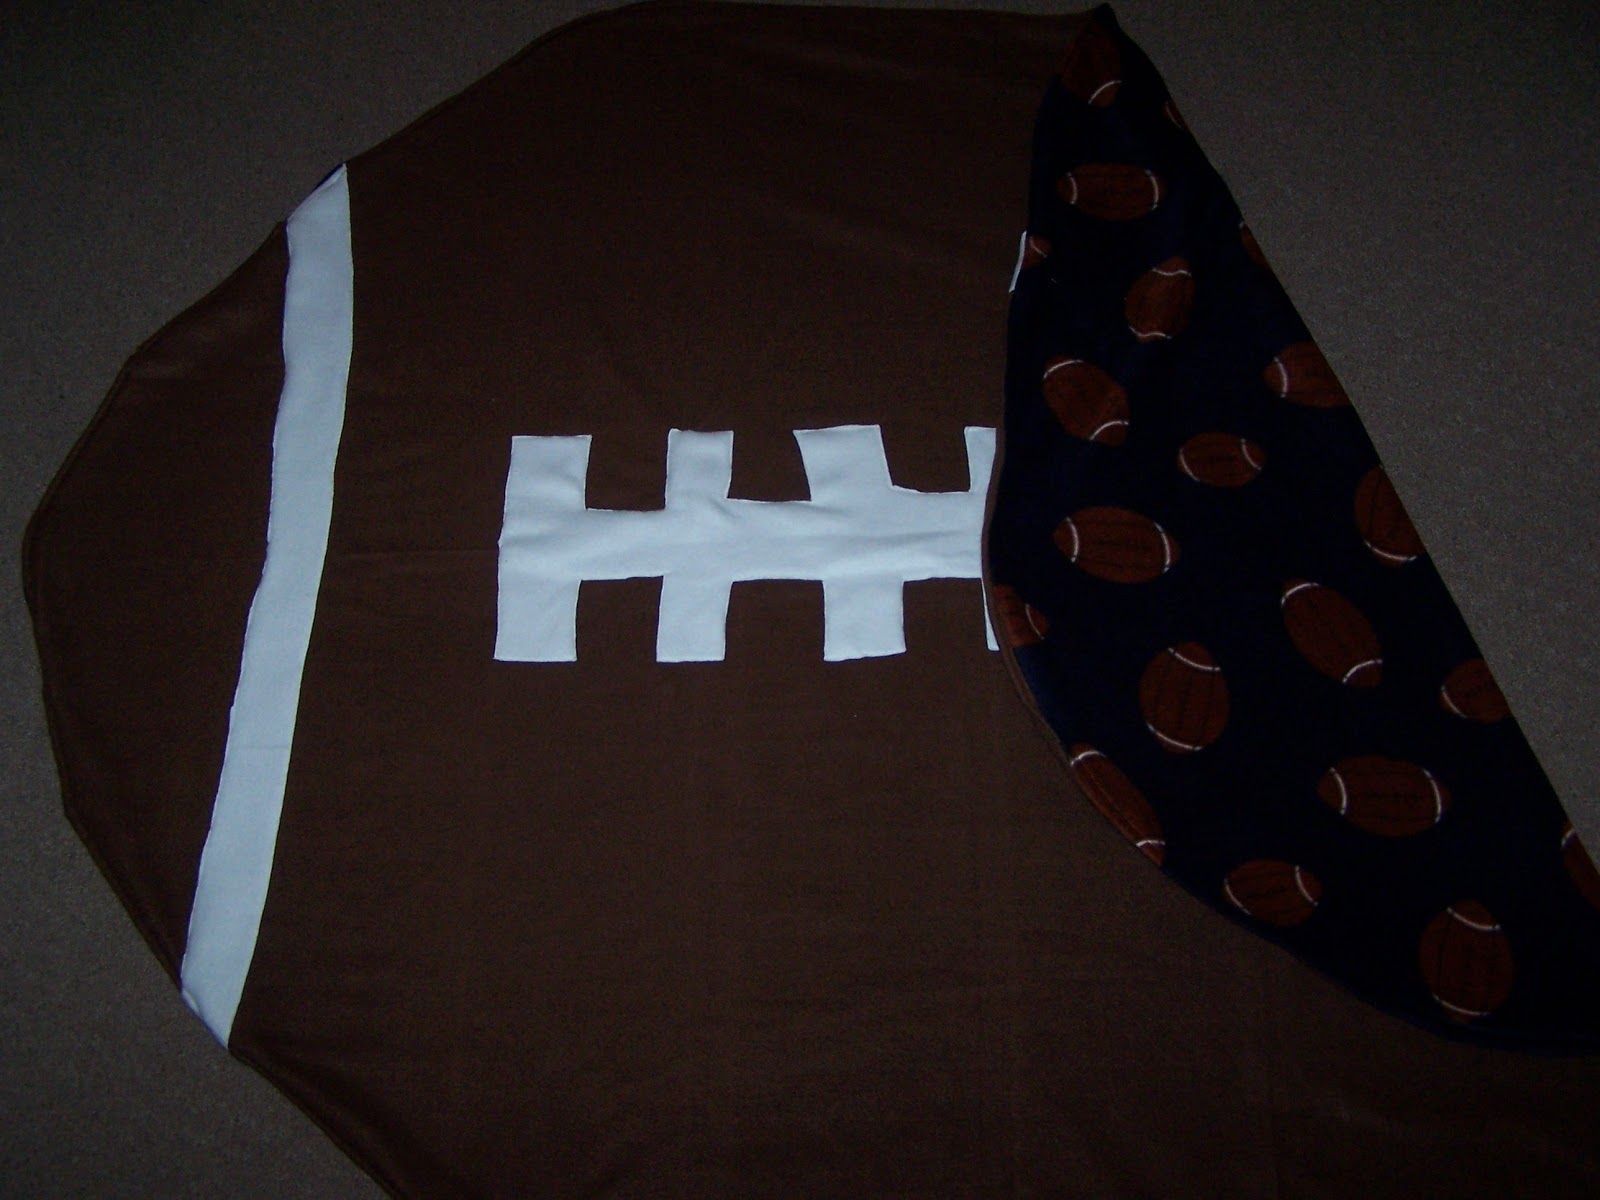
This year for Christmas I have decided to do mostly handmade gifts for family and friends.  First on my list was this football blanket from Thriving Home for my son.  His room is done in a football theme so this was perfect.
 
 
What you will need to make one like mine:
2 yards brown fleece fabric
2 yards designed fleece fabric
1/2 yard white fleece fabric
straight pins
sewing machine


I made mine basically the same way she did however mine is much bigger. 
When I was down at Hancock Fabric the other day they were having a huge sale on fleece so that is what I decided to make his out of.  You can save another 10% with them if you sign up for their text messages and you can combine that with their sale.  They also accept competitors coupons.
This blanket was super easy to make.  I finished it in 2 nights without any problems.
 
 
I think he is going to love it.
 
 
Cost of this project:
 
2 yards brown fleece $7.18 ($3.99 a yard, minus my 10% off text)
2 yards football fleece $10.78 ($5.99 a yard, minus my10% off text)
1/2 white fabric $1.79 ($3.99 a yard, minus my 10% off text)
 
Thread, straight pins and sewing machine I already had.
 
For less than $20 this is a really nice blanket.  It's thick and warm.  I'm sure he will have it for years to come.