Showing posts with label Fall. Show all posts

Sunday, October 20, 2013

Jack-O-Lantern Hand Soap

DIY Jack-O-Lantern Hand Soap
 
 
Here is another easy craft to do.  This is good for the little to make on their own also.
 
What you will need:
Hand Soap
Vinyl Scraps
Ribbon
Scissors
Pencil
 
 
First you will want to pencil out the shapes you want onto the back of vinyl.
 
 
Next, cut them out and apply them to the bottle.
 
 
Add a ribbon around the pump if you want to add a little something extra.


Cost of this project:
$0.98 for the soap with a coupon
 
Ribbon, Vinyl, Scissors and a Pencil I already had on hand.
 
 
*You could also make a ghost soap using the same steps here if you have white soap on hand*


Friday, September 20, 2013

Crockpot Apple Butter

Well it's that time again!
Apple season!
YAY!  Who doesn't love the crisp fall air?!  It's my favorite time of year I must say.
If you find yourself with apples this year from the orchard, you should try out this recipe.  It is very simple and will make your house smell AMAZING!


Here is what you will need:
 
5 to 6 lbs. of apples peeled, cored and chopped
2 1/2 to 3 Cups Sugar
3 tsp. of Cinnamon
1/2 tsp. nutmeg
crockpot
peeler or knife
cutting board


First you are going to want to wash your apples and then peel them. 


Next cut them up into small pieces. 
In a seperate bowl, mix together your sugar, cinnamon and nutmeg.
Now most apple butter recipes call for cloves.  I however can't stand the taste of them so I don't put them in mine.  If you want to, you can add 1/2 to 1 tsp of ground clove to this mixture also.
 
 
Add you apples to the sugar and mix well to make sure all the apples are coated.
 
 
Pour them into the crockpot.
 
 
Put the lid on your crockpot and cook on high for the next 10 to 12 hours.
The cooking time is going to depend on how hot your crockpot gets and how juicy your apples were.
 
 
Every so often, check on your apples and stir them.
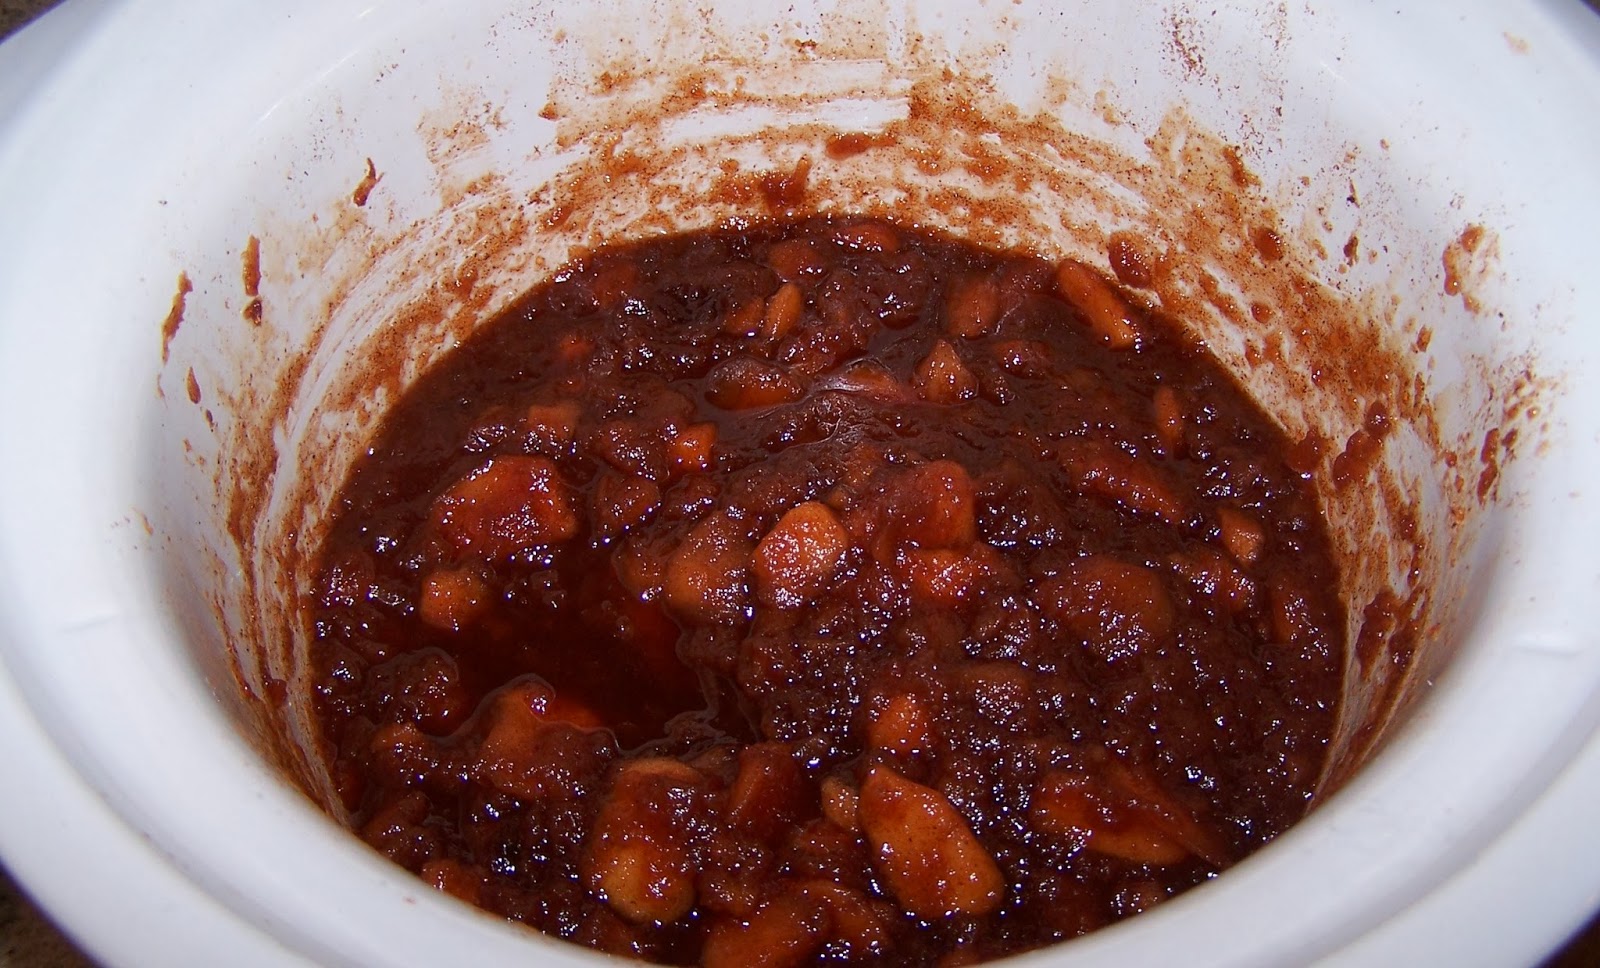
This was taken about 2 hours after cooking.  You can see that there is alot of juice in there now.  Don't worry, this will all cook away.
 
 
About 8 hours into the cooking process.
 
 
This is 12 hours later for me.  If you have some chunks left, you can take a wisk and break them up.
 
 
From here, you can either freeze your apple butter in containers or can it for future use.  I always can mine for 2 reasons.  One is it stays longer and two I don't have that much freezer space.
 
If you have never canned before, I suggest doing a little research on the computer before you attempt it so that you do it properly.


These would also make great gifts for the upcoming holidays!
Just add ribbon and pretty label and you have a lovely gift that everyone would love!
 
 
Did you make this recipe?  Please share how it turned out!  I would love to hear!


Sunday, August 4, 2013

Initial Decoration


This craft is very simple and shouldn't take you much time to do at all.
You can make this craft for any season or Holiday!
 
 
What you will need:
 
A wooden letter
Scrapbook paper
Modge Podge
Foam Brush
Acrylic paint (optional)
Paint brush (optional)


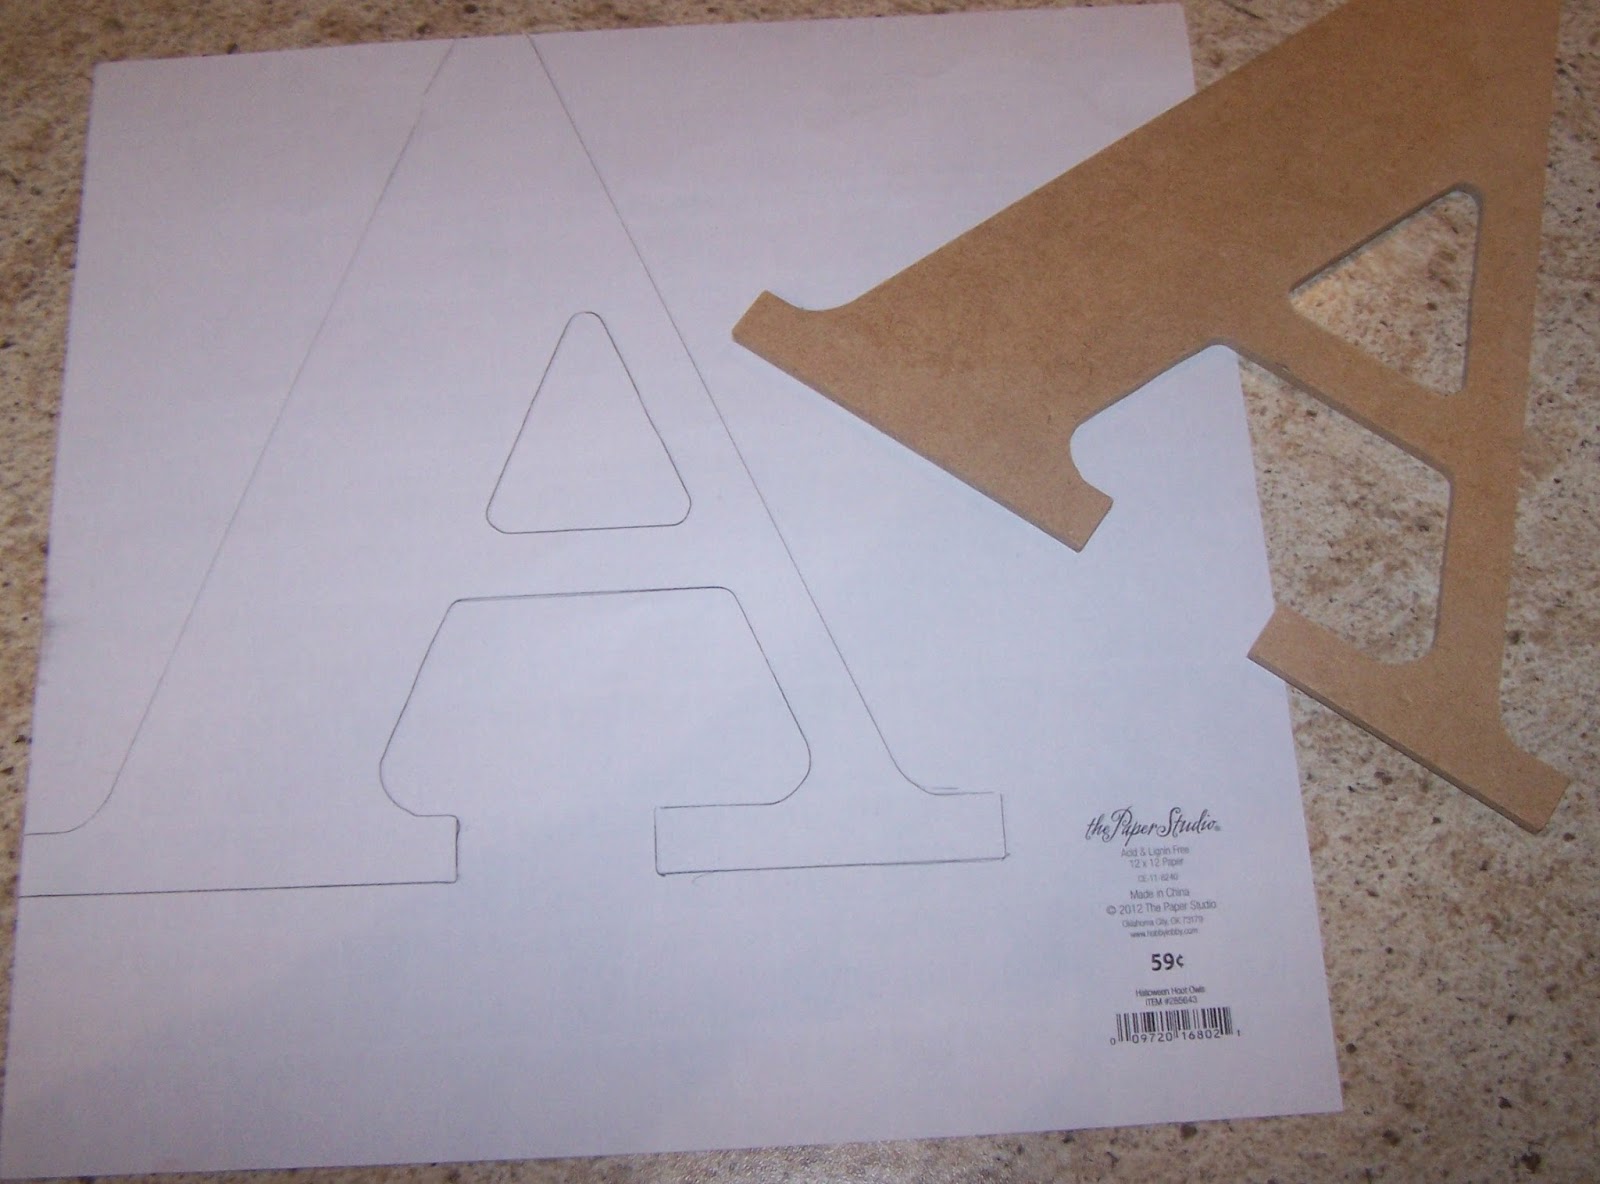
First lay out your letter backwards on the scrapbook paper.  I tried to line it up with the edges of the paper as you can see from above.
Trace around your letter.

 
Once your letter is traced, cut it out very carefully.
I cut on the inside of the line of the letter.
 
 
Once you have it cut out, make sure that it the paper lines up correctly with the wooden letter.  Trim things if you need to.
 
 
Next what I did was paint the edges of my letter.  You don't have to do this if you don't want to but I'm going to be displaying mine on a shelf so I wanted it to have a finished look since you can see the sides.
Let that dry.
 
 
Put a nice thin coat of Modge Podge on the wooden letter.


Lay your scrapbook paper down on top and smooth it out.
Let that dry.
 
 
Once that is all dry, put a thin layer of Modge Podge over the top.
Let dry.
Repeat this step so you have 2 layers of Modge Podge on it.
 
 
All that is left to do now is enjoy your finished product!
 
 
Cost of this project:
 
$1.49 for the wooden A at Hobby Lobby (I used a 40% off coupon)
$0.59 for the scrapbook paper at Hobby Lobby.
 
Modge Podge, Brushes and Paint I already had on hand.
 
 
Did you make this craft?  Link me to it!  I would love to see it!


Friday, July 26, 2013

Fingerprint Fall Tree Canvas


The weather was cooler outside today and I got in the mood to do a Fall craft with my youngest.
This was really easy to do and my daughter had a blast making it with me.  Too bad my oldest refuses to do things like this with his Mom.  It's those darn teenage years I guess.
 
 
What you will need:
 
Acrylic Paint (brown, red, yellow, orange and green)
Paint Brush
Canvas


First I started out by creating the tree.  I just free-handed it.

 
Paint your little ones finger and have them start putting on the leaves.

 
There is no certain way to do this.  We just started putting them on and then we went back in and started filling in spots that were empty.  Keep going until you have your desired look.
Be sure to date the back and add your childs name!
 
 
Cost of this project:
 
Nothing. 
I already had the paint, paint brush, the canvas from here and of course the little fingers. 
 
 
Did you make this craft? Link me to it! I would love to see it!  


Monday, November 12, 2012

Cinnamon Stick Wreath


Ready for some Christmas crafts?
 
What you will need for this project:
Wreath Form
Cinnamon Sticks
Ribbon
Hot Glue
 
 
My wreath form came from Dollar Tree
The ribbon came from Family Dollar
The cinnamon sticks came from Hobby Lobby


This wreath form was a little too thick so I cut it in half and made two.


Start by gluing the end of your ribbon to the form.
 
 
Wrap it around the form until you get all the way back around.  Glue that end down.
 
 
Now you can start adding the cinnamon sticks.  Glue them down to the form.
Once you have made it all the way around with the cinnamon sticks, go back in with another layer over all the empty spots.
 
 
I had a little extra ribbon left over, so I made a bow to give it a little extra something.
 
 
Cost of this project:
$1 for the wreath form
$1 for the ribbon
$2.98 for 3 bags of cinnamon sticks ($1.99 each with 50% off)
 
Hot glue I already had on hand.


Wednesday, November 7, 2012

DIY Fall Leaves Canvas Craft


My sister recently found this craft from Revolutionaries on Pinterest and wanted to make one of her own.  Here is how she did it.
 
 
What you will need to create one like hers:
 
2 8x10 canvases
3-5 different colors/patterns of scrapbooking paper
glue
scissors
toliet paper or paper towel rolls
branches
 
 
First you will want to pick out your scrapbook paper.  She chose fall like colors with no patterns.
 
 
Next you are going to want to cut out some leaves.  To do this, you just take one of your paper towel rolls and kind of smash it down.  Cut off pieces approx. 1/2 inch wide.  There is no set number as to how many leaves you will need to cut.  Go with what you think looks right for your canvases.
 

Glue them down to your scrapbook paper.
Let these dry completely.
 
 
While those are drying, cut up your branch and lay them out on the canvas.  Again, there is no certain way to do this.  Just go with what you think looks best.
Once you have them where you want them, glue those down.
Let dry.
 
 
Now you can add in your leaves.  I would suggest laying them all out first before glueing them down.
 
I love the way hers turned out.  In fact, I will probably be making one of my own here really soon.
 
 
Cost of this project:
 
$1 for 5 pieces of scrapbook paper at Micheals
 
The branch we found outside and the cavases came from a previous project.  Everything else we had on hand already.