Showing posts with label halloween. Show all posts

Sunday, October 20, 2013

Jack-O-Lantern Hand Soap

DIY Jack-O-Lantern Hand Soap
 
 
Here is another easy craft to do.  This is good for the little to make on their own also.
 
What you will need:
Hand Soap
Vinyl Scraps
Ribbon
Scissors
Pencil
 
 
First you will want to pencil out the shapes you want onto the back of vinyl.
 
 
Next, cut them out and apply them to the bottle.
 
 
Add a ribbon around the pump if you want to add a little something extra.


Cost of this project:
$0.98 for the soap with a coupon
 
Ribbon, Vinyl, Scissors and a Pencil I already had on hand.
 
 
*You could also make a ghost soap using the same steps here if you have white soap on hand*


Tuesday, October 30, 2012

Spooky Halloween Glowing Eyes


YAY!  Finally Halloween is here.  I have one more last minute craft for you to do.  This is really easy to do and super cheap.  I plan on putting these in my bushes on the side of the house.  However I can't take credit for thinking these up, there are lots of them floating around the internet.
 

What you will need:

Toliet Paper Rolls or Paper Towel Rolls
Green and White paint
Glow Sticks
Paint Brushes
Scissors or Exacto Knife
 
 
First take all the little bits and pieces of toliet paper and paper towels off of the rolls.  I personally used toliet paper rolls since they were shorter. 
Cut out the design of the eyes that you want.
 
 
Next I painted mine with a watered down green on the outside to blend in with the bushes.  On the inside I painted it white so that the glow sticks would be brighter.
 
 
I found these packs of 15 glow bracelets at the Dollar Tree.
I put one glow stick in each roll.  You will have to bend them so the ends don't hang out.  You can put 2 sticks in there if you would like yours to be brighter.
 
 
Next just hide them where ever you want and let the spookiness begin!
 
 
Cost of this project:
 
$2 for the Glow Sticks at Dollar Tree
 
Toliet paper rolls, green & white paint, paint brushes, scissors and the exacto knife I already had on hand.
 
Update:
These were a huge hit!  I tried to get some pictures of them in the bushes but it was harder than I thought.


Sunday, October 14, 2012

Halloween Bathroom Decorations


I have decided to go with a "blood bath" theme in my bathroom this year.  I don't usually decorate the bathroom but I thought it would be fun to try. 
 

What you will need for this project:
 
A Shower Curtain Liner (or two if you have a rod like mine)
White Towels
Red Acrylic Paint
Paint Brushes
Blood Spater Gel Window Clings (optional)
 

This is a pretty straightforward DIY halloween project.  What we did was paint our hands and then kind of smear them downwards on the towel and the shower curtain liners (on the outside).  Then we went in with a paint brush and made smear marks and such all over. 
 
I found gel blood splatter window clings at the Dollar Tree and I put those on the mirror above the sink. 
 
 
My youngest had fun adding in her little touches.


It was harder than I thought it would be to get pictures of my bathroom.
 

Cost of this project:
 
2 Shower Curtain Liners $2 from Dollar Tree
White Towel $3 from Dollar General
Gel Window Clings $1 from Dollar Tree
 
The red acrylic paint I already had on hand.
  You could save even more if you had some old white towels you could use instead of having to buy some.


Thursday, October 11, 2012

Halloween Handprint and Footprint Art


I saw this adorable idea on Pinterest a few weeks ago and I just had to recreate it before my children were way too big to do this project.
The original project came from over here at Southern Fried Gal but I did mine a little differently since my children are older.
 
What you will need:
 
2 canvases
Black Acrylic paint
White Acrylic paint
Orange Acrylic paint
paint brushs
 
 
These canvases are 10 x 8 but you can use whatever size you like.  These came in a package of 10 from Micheals and were on sale for $14.99 (reg. $19.99).  My sister had purchased them for a project and left the extras here so I used a couple.
 
 
Paint one orange and one black with your acrylic paints.
Let dry completely. 
My orange took 2 coats to fully cover it.


Now it's time for the fun part. 
My son opted to have his hand painted and my daughter her foot.  I would have bet money and lost that they would have wanted to do the same one.  Hooray for one less fight!
Firmly press their little hand or foot to the canvas and make sure you press down all the little piggies and fingers too.
 
 
Let these dry completely.
Once dry, you can start adding in decorations and painting faces.  I used a pencil and pressed lightly to outline the spider web designs and words then went over it in paint.
Let dry.
And there you have it.  A fun and festive halloween craft to do with the kids. 


Cost of this project:
 
Practically nothing.  I had everything on hand already.
 
The canvases will be the most expensive part of this craft.  However Micheals sells them in packages of 10 and alot of times you can find a coupon in the newspaper or online to offset the cost a bit.  If you don't think that you will ever use up 10 of them, you can always buy them seperately or even make your own.


Monday, October 1, 2012

Halloween Framed Subway Art


Here is another super easy and cheap Halloween project. 
 
What you will need:
 
Picture Frames (I used 8x10s)
Printer and Printer Paper


These frames came from the Dollar Tree but you could use any old frame.  If it's not the color you want it to be, you can always spray paint it.
I googled Halloween subway art and found this one from Bunch of Craft and this one from Craft-O-Maniac.
There are tons of different images out there if you prefer something different.
Just print out your image and put it in your frame. 
 

I also made this one to finish off my shelf in the living room.  This one is a 5x7 and I got the frame for this from the Dollar Tree too.  You can find the printable here at Andersruff.
 
 
Cost of these projects:
$3 for 3 picture frames from the Dollar Tree
 
Paper and printer ink I already had on hand.


Tuesday, September 25, 2012

Halloween Spell Books


These are super easy to make for Halloween and they won't cost you a fortune.
 
What you will need for this project:
 
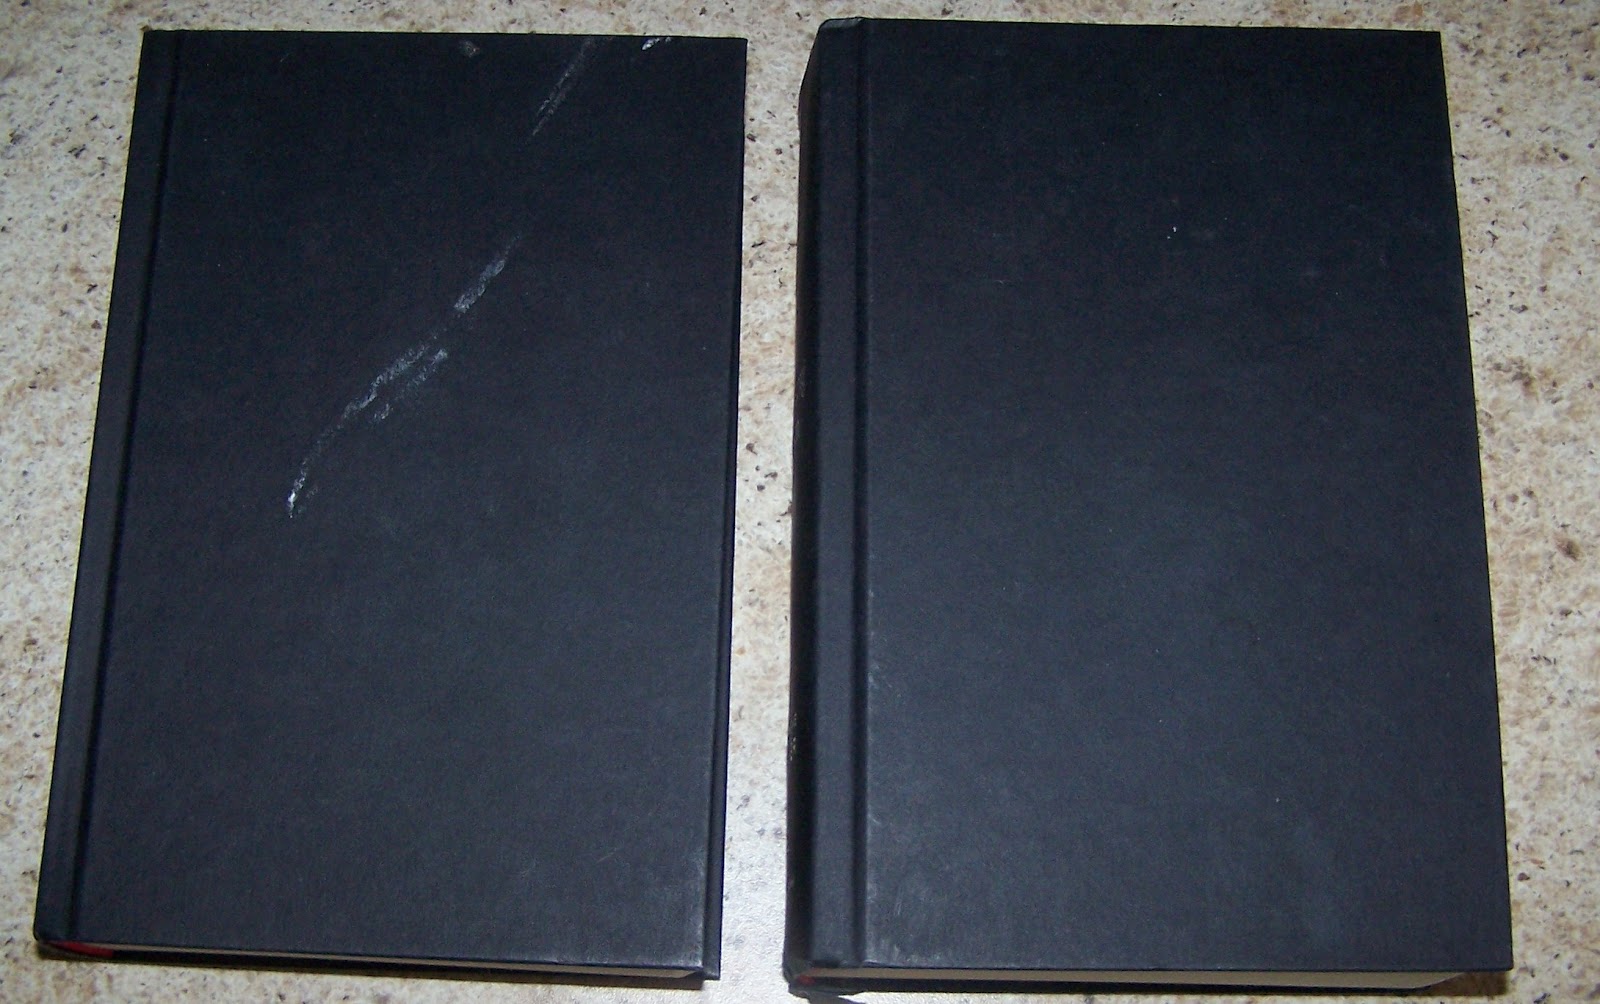
Hardback Books
Acrylic Paint
Paintbrush
Stencils (optional)


First you need some hardbacked books.  I got mine from the library in the discarded books.  My library charges $0.25 each for hardbacks.  If your library doesn't sell old books, you can always find some at garage sales and thrift stores.  If the books have a dust cover on them, just remove it.  You won't need them for this project.
 
Now just paint your books with an acrylic paint.  I picked colors that would match my Wicked Blocks hat I made a few weeks ago since these were going on top of my cupboards too.
I did about 3 coats of paint on each book to make sure they were covered good.
 
Once that was dry, I printed out different words on my computer in different fonts and sizes.  I didn't use my cricut for this project since I wanted to paint the words on the spines instead.
To transfer the words, simply go over your printed out letters with a lead pencil.  Press hard so that you have alot of lead on each letter.  Once you do that, line your words up on the book lead side down to where you want it.  Next you will need a popsicle stick or something along those lines to transfer the word.  Simply rub the paper with the stick and your lead will transfer so you have an outline of your word.  Now you can paint it with a small paint brush.
And there you have it.  A super easy and cheap craft.


Cost of this project:
 
$1.25 for 5 books
 
Acrylic paint, paint brushes and computer paper/ink I already had on hand.


Wednesday, September 19, 2012

Halloween Spooky Candles


Here is another super easy and inexpensive halloween craft for you to do. I have seen these all over the internet lately. Most of the ones I have seen are made with PVC but this is a way to make it cheaper with just as much impact.
 
What you will need:
 
Paper Towel Rolls or Toliet Paper Rolls
Hot Glue
Black Spray Paint
Newspaper
Battery Operated Tea Lights
 

First I started with the paper towel rolls.  I have been saving them up for a couple of weeks now for this project.  I used 12 because that was how many tea lights I had purchased but you could use as many you want.
 
 
Cut them to the sizes you want.  I started with a full tube in the back and went from there.  I layed them out in the order I wanted them in before gluing them to eachother.


Once I glued all of my tubes together I started creating the dripping effect.  Really there is no certain way to do this.  I found that the drips looked better if I started from the bottom of the drip and went upwards with it. 
After these dry completely, spray paint them black.  I used a satin black because that is what I had on hand.
Once dry, stuff the tubes with newspaper.  Leave room in the top for your candles to fit down in the tubes.


I absolutely love the way these turned out.  I have plans to make more of these as soon as I can.


Helpful tips for this project:
 
If you can't find the black tea light candles, you can always buy the white ones and just paint them black with an acrylic paint.
Dollar Tree sometimes carries the battery operated tea lights.  They are 3 for $1 but my store did not have any in yet.
If you want your candles to stand taller, you can use wrapping paper tubes.
 
 
Cost of this project:
 
$7.98 for 12 tea lights at Menards (they come in pack of 6 for $3.99 each)
 
Paper towel rolls, black spray paint, newspaper, and hot glue I already hand on hand.


Tuesday, September 11, 2012

Halloween Topiary


The other day when I was at Goodwill I came across these really cool plastic urns.  I automatically thought they were perfect for a topiary.

 
What you will need to make 2 of these:
 
2 planters or urns
Expandable spray foam
2 dowel rods
4 foam pumpkins
2 foam balls
Black paint
Orange paint
Plastic spider rings
Spanish moss
Hot glue
Black spray paint
 
 
For some reason I didn't get very many pictures of this project in progress but I will try to explain the best I can.
 
First what I did was paint orange and black stripes on the dowel rods.
Once that was dry I put the dowel rods in the urns and sprayed the expandable foam around them to hold them in place.  You might have to hold them until the foam sets up a little.
I let mine sit over night to make sure it was nice and set.
 
While that was setting I spray painted the foam balls black.  I used a 6 inch foam ball but you could really use any size you wanted.  The pumpkins are foam ones that I found at Dollar Tree.
 
 
Once all that was done, I had my wonderful Husband drill holes the same size as the dowel rod through the foam balls and pumpkins.
Stack them onto the dowel rods.
I had a hard time getting them to stay in place and not slip down so I just added a little hot glue to make them stop.
Once those were in place and the glue was dry, I started working on the spider rings.  I cut the ring part off of them and then started randomly gluing them to the black foam balls.  I ordered these from Amazon since had a gift card from using Swagbucks.  They turned out to be perfect.  I used all but 11 of them so keep that in mind when you buy some for your project.
 
 
After I was done with all of that, I put some Spanish Moss in the urn but candy corn would be cute too.
 
 
Cost of this project:
 
Urns were $4.68 for both
4 Pumpkins from the Dollar Tree $4
2 Foam Balls from Walmart $9.08
Spanish Moss from Dollar Tree $1
2 Dowel Rods from Menards $2.16
Spider Rings from Amazon $1.25 (used a $5 gift card from Swagbucks)
 
Black spray paint, orange and black acylic paint and expandable spray foam I already had on hand.